
August 6, 2025|Farm Life, Foraging, Gardening, Homesteading, Sustainability, Tips
Hey farm gals, it’s Kara from Lange Girl Farms! August’s harvest is piling up, and after 15 years, I’m drying herbs and veggies—naturally—with a solar dehydrator. My chickens peck scraps, my horses munch dried treats, and my huskies sniff the process. This DIY’s cheap, holistic, and sustainable—years of sun-powered preserving behind it. Here’s how to build one, farm girl style—let’s dry the bounty!
Step 1: Plan Your Design
Box with vents, glass top—my barn corner’s perfect. I sketched it after 15 years of failed drying; sun’s the key.
Step 2: Gather Materials
Old wood, glass pane, mesh—scraps work. I used screws https://amzn.to/3UyUQwy; my first build collapsed ‘til I got sturdy.
Step 3: Build the Frame
Nail a box, angle for sun—hammer https://amzn.to/3GWnzsadoes it. My minis watched; years taught me slants catch rays.
Step 4: Add Trays and Vents
Mesh trays, holes for air—Hardware cloth mesh https://amzn.to/45c2C4A holds herbs. My ducks nibbled wet basil; vents fixed mold.
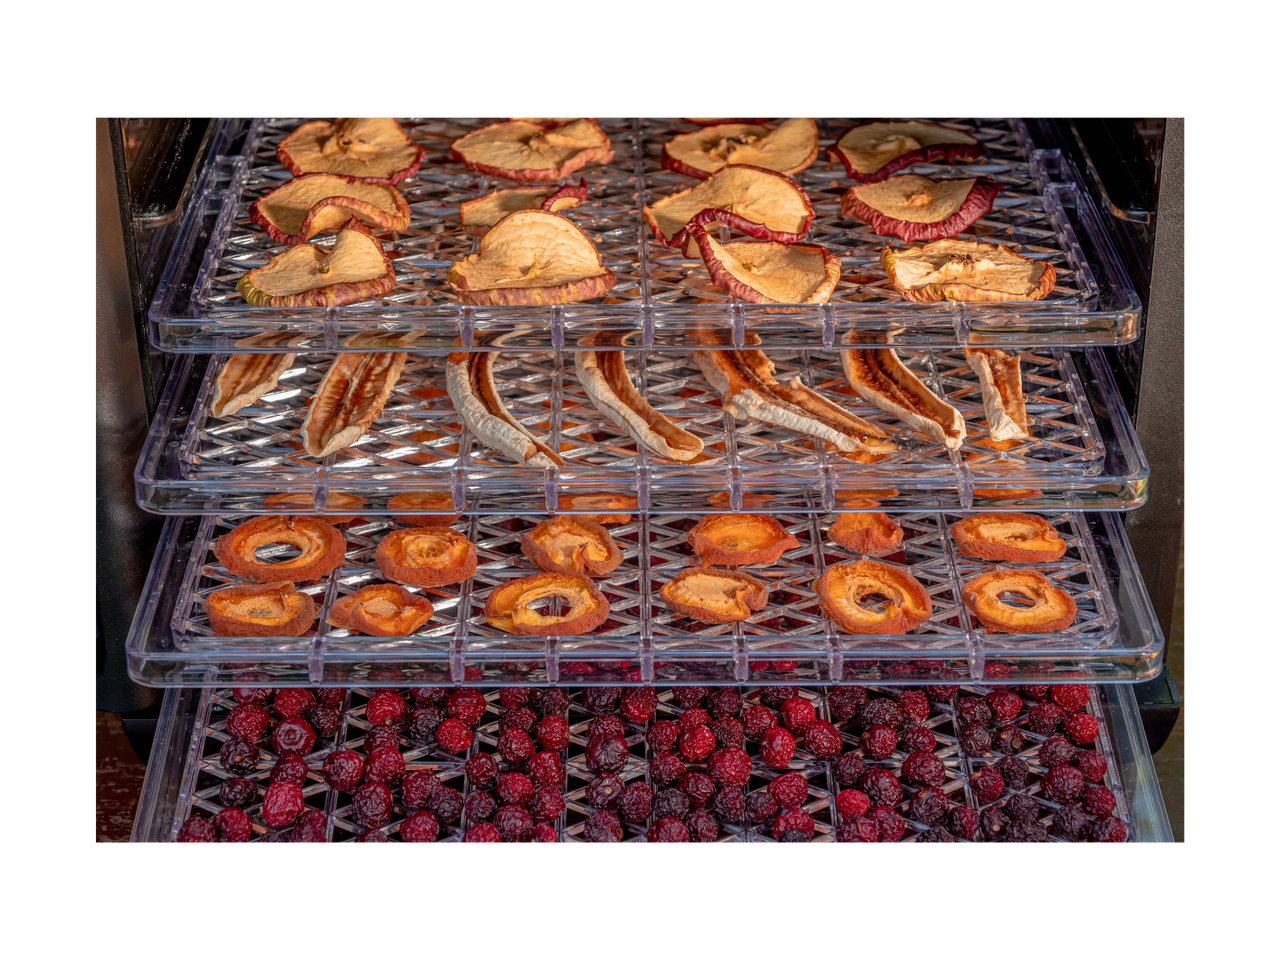
Step 5: Dry Your Goods
Slice thin, spread even— glass lid can be sourced locally from a old window, which traps heat. My husky pup stole zucchini; now it’s a summer win.
Conclusion
This solar dehydrator’s my August star—15 years of sun made it sustainable. Build yours; your pantry’ll love it! Pin this for your DIY, and follow Lange Girl Farms for more thrifty projects.
Affiliate Disclosure: Some links are affiliate links, supporting our women-owned farm at no extra cost to you.