Published: March 14, 2026
Howdy from the Seedling Table, Farm Mamas
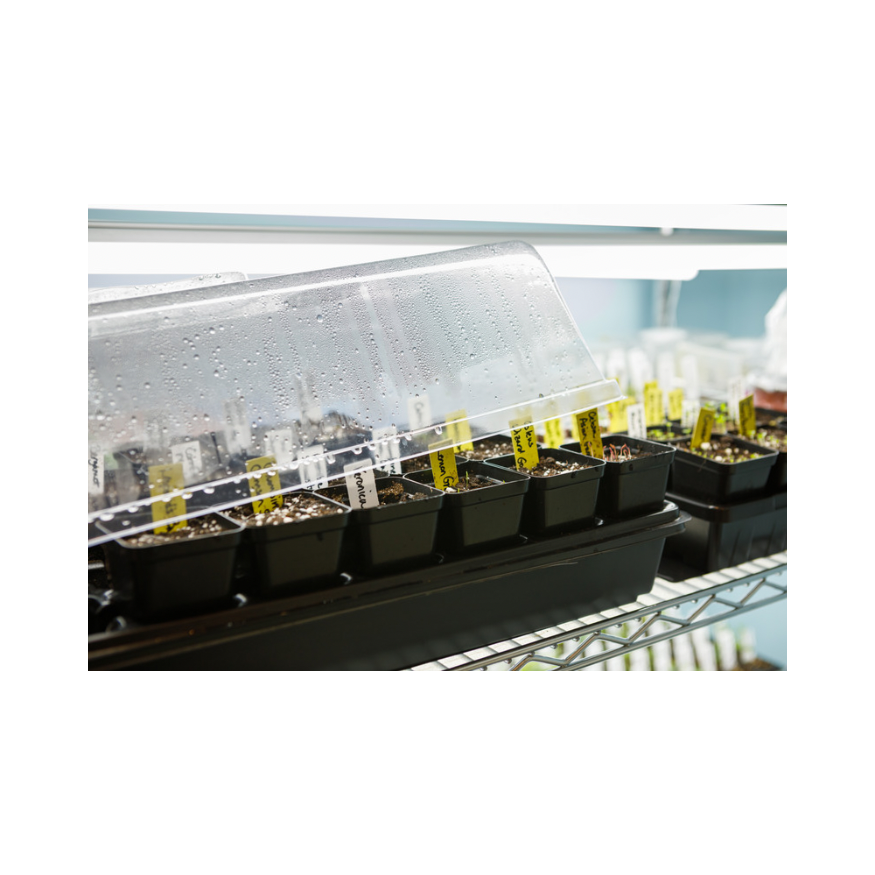
It’s mid-March, the nights are still cold, the ground is thawing, and the seedlings on the windowsill need consistent warmth to thrive.
After more than a decade of country living and sustainable farming on our 33-acre Michigan homestead, a reliable seedling heat mat has become essential for starting tomatoes, peppers, and other warm-season crops indoors.
Today I’m sharing why bottom heat matters, how to choose and use affordable seedling heat mats sized for standard 1020 trays, and tips for indoor growing success until transplant time.
Let’s keep those seedlings happy — grab a heat mat and let’s get growing.
Why Seedlings Need Bottom Heat
First, most warm-season seeds germinate best between 70–85°F. In addition, Michigan’s early spring nights often drop below 50°F, which slows or stops germination. As a result, consistent bottom heat speeds sprouting and strengthens roots. Finally, a good heat mat gives you control without running the whole house warmer.
My March Timeline
- Start warm crops: March 1–20
- Use heat mat: until true leaves appear
- Harden off: mid-April
Choosing the Right Seedling Heat Mat
First, look for mats specifically sized for standard 1020 trays — these fit perfectly without wasting space or heat. Next, choose waterproof versions with a built-in thermostat or compatible controller for safety and precision. Then, opt for affordable options that maintain steady 70–85°F at soil level. Finally, read reviews for even heat distribution and durability.
Farm Hack: Many budget-friendly mats on Amazon or Tractor Supply work great for homesteaders and last multiple seasons.
How to Use a Seedling Heat Mat
Steps
- Set Up: First, place the heat mat on a flat, waterproof surface.
- Position Trays: Next, set your moistened 1020 seed trays directly on the mat.
- Add Thermometer: Then, use a soil thermometer to monitor temperature at seedling level.
- Control Heat: Finally, plug into a thermostat controller to maintain consistent warmth.
Daily Routine
- Check soil temperature morning and evening.
- Adjust thermostat as needed.
- Bottom water to keep soil moist but not soggy.
Safety Note
Always use a GFCI outlet and never leave the setup unattended the first day.

Indoor Growing Success Tips
First, provide 14–16 hours of light with grow lights or a bright south window. Next, water from the bottom to prevent damping-off. Then, thin seedlings to the strongest one per cell. Finally, fertilize lightly with compost tea once true leaves appear.
Troubleshooting
- Leggy seedlings? → Move closer to light or add more hours.
- Mold? → Increase airflow, reduce watering.
- Slow growth? → Check soil temperature with thermometer.
Quick-Reference Checklist – Seedling Care Schedule
| Day/Week | Task | Notes |
| Daily | Check soil temp & moisture | Keep 70–85°F |
| Weekly | Rotate trays for even light | Prevent leaning |
| Week 3+ | Start hardening off | 1 hour outdoors first day |
| Before Transplant | Fertilize with compost tea | Dilute 1:10 |

Shop the Seedling Pairing
- Laser-Engraved Slate Plant Markers
- Muscle & Joint Salve
- Bumps & Bruises Salve
Shop Now →
Parent Tips
- Let kids help set up the trays on the heat mat and check temperatures daily.
All printables are free images in the blog post. Generic version for your family to personalize and print.
A few of the items we mention link to things we actually use around the farm. Buying through those links sends a little support our way at no extra cost to you — thank you for helping keep Lange Girl Farms going!
Some links are affiliate links — I earn a small commission at no extra cost to you.
Shop our farm-made goods → https://langegirlfarms.com/shop
Let’s stay connected!
Instagram • Pinterest • Facebook • X (Twitter)
© Lange Girl Farms – All Rights Reserved