

May 17, 2025|Holistic
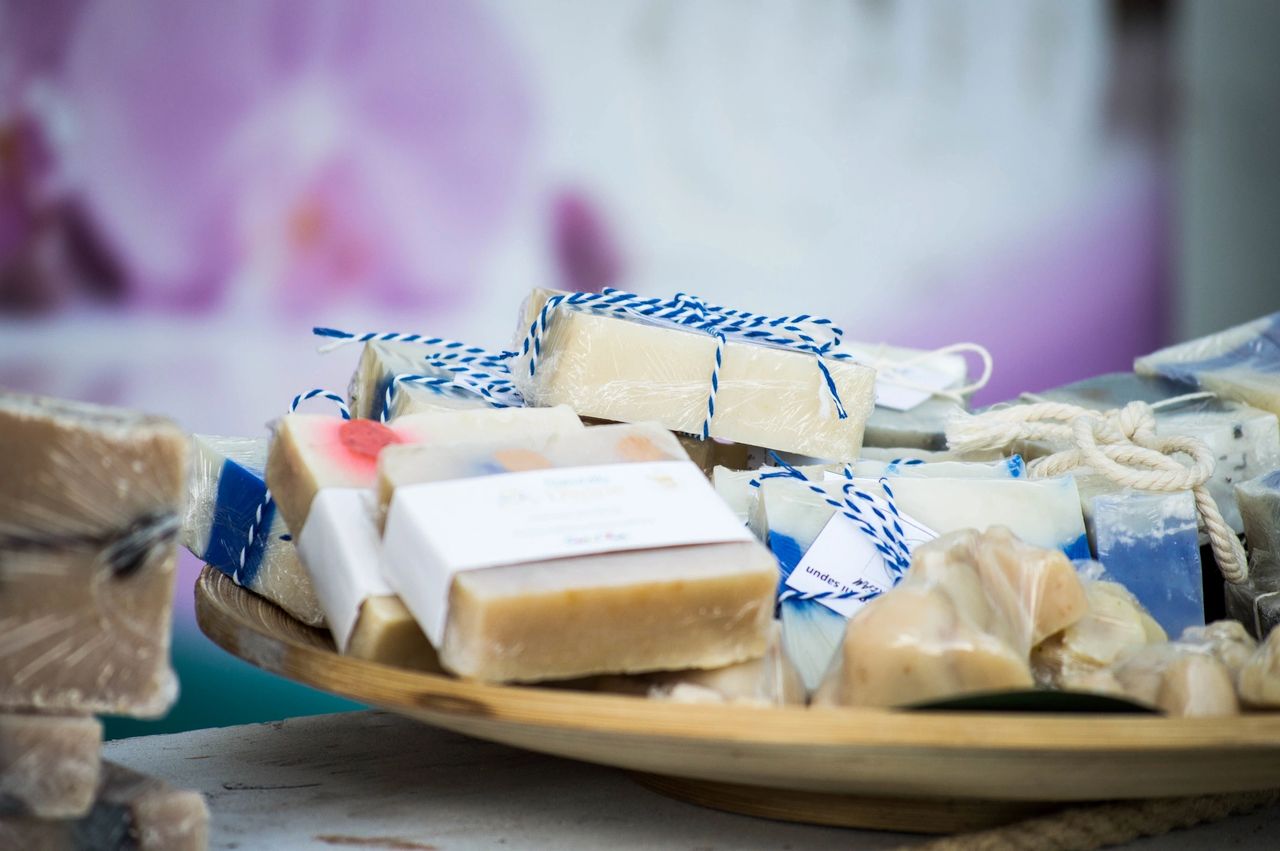
Welcome to the world of homemade soap-making! If you’re looking for a creamy, skin-nourishing soap that’s as beautiful as it is functional, this goat milk and shea butter soap recipe is your perfect starting point. Packed with moisturizing oils and customizable with vibrant colors, soothing scents, and artistic sculpted tops, this cold process soap will elevate your bath routine. Whether you’re a beginner or a seasoned soap-maker, this guide will walk you through the process and inspire you to get creative. Let’s dive in!
Why Goat Milk and Shea Butter Soap?
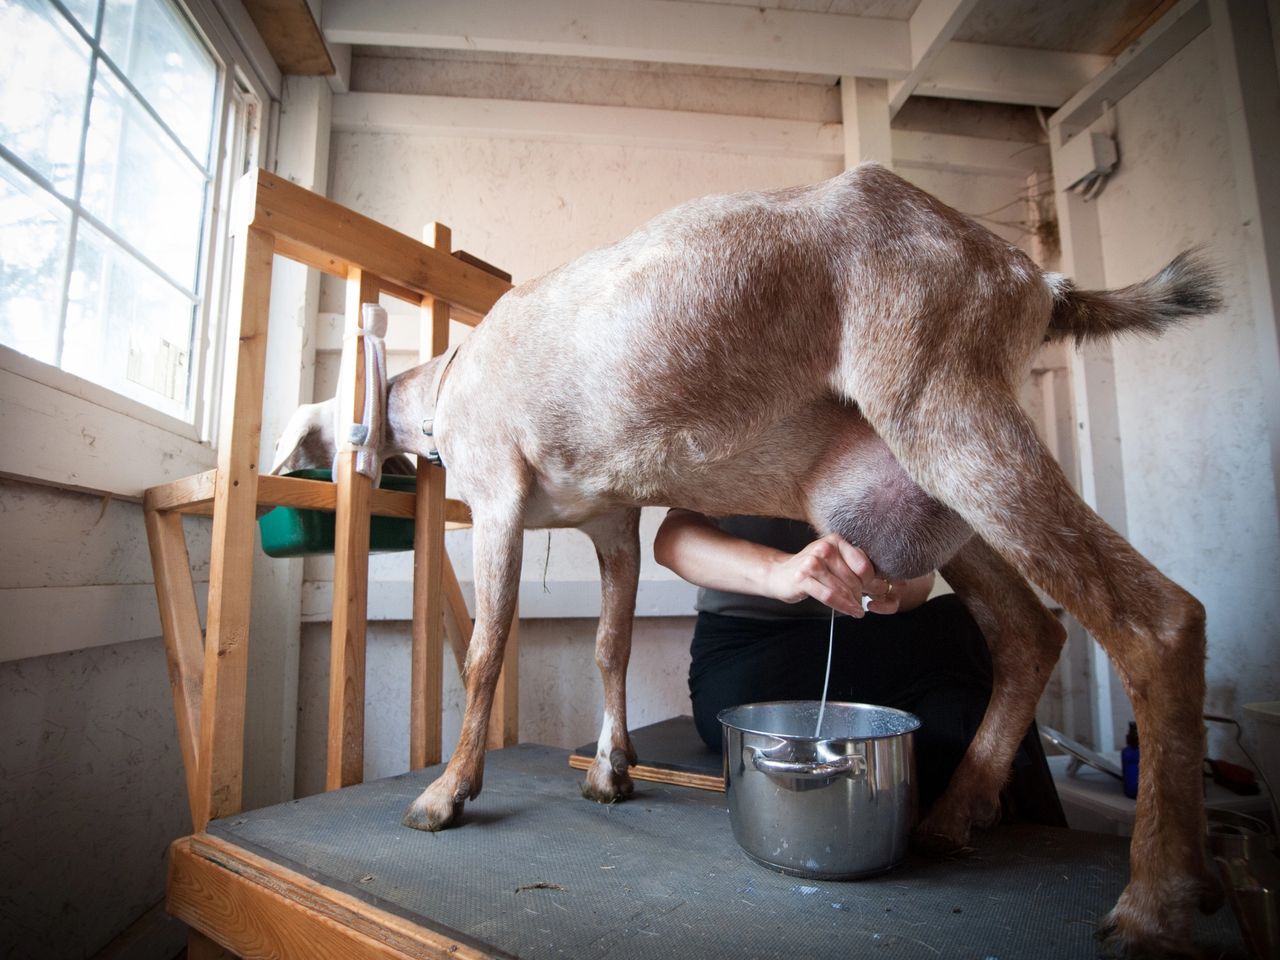
Goat milk is a superstar in soap-making, known for its creamy texture and skin-loving nutrients like vitamins and lactic acid. Paired with shea butter’s rich, moisturizing properties and a touch of castor oil for a bubbly lather, this recipe creates a luxurious bar that’s gentle, hydrating, and perfect for all skin types. Plus, it’s a blank canvas for your creativity—think vibrant swirls, calming scents, and eye-catching designs!
Note: This is a cold process soap recipe that uses lye (sodium hydroxide), so safety is key. Always wear gloves, goggles, and long sleeves, and work in a well-ventilated area.
Goat Milk and Shea Butter Soap Recipe
Ingredients
• 10 oz (283 g) goat milk (fresh, canned, or reconstituted from powder)
• 4.5 oz (128 g) lye (sodium hydroxide)
• 10 oz (283 g) olive oil
• 8 oz (227 g) coconut oil
• 6 oz (170 g) shea butter
• 4 oz (113 g) castor oil (for a creamy lather)
• Optional: 1-2 oz (28-56 g) essential oils for fragrance (suggestions below)
Equipment
• Digital scale (precision is crucial!)
• Heat-resistant pitcher or bowl (for mixing lye and milk)
• Stainless steel or heat-resistant plastic container (for oils)
• Stick blender
• Thermometer
• Silicone mold or loaf pan lined with parchment paper
• Safety gear: gloves, goggles, long sleeves
• Spoon, spatula, and optional piping bag for decorating
Step-by-Step Instructions
1. Freeze the Goat Milk: Pour the goat milk into an ice cube tray or shallow container and freeze until solid or slushy. This prevents scorching when mixed with lye.
2. Set Up Safely: Clear your workspace, ensure good ventilation, and put on your safety gear. Keep pets and kids away.
3. Weigh Ingredients: Using a digital scale, measure the frozen goat milk, lye, and oils precisely. Accuracy is everything in soap-making.
4. Mix Lye and Milk: Place the frozen goat milk in a heat-resistant pitcher. Slowly sprinkle the lye over the milk, stirring gently with a stainless steel spoon. The mixture may turn yellow or orange and smell slightly ammonia-like—that’s normal. Stir until the lye dissolves, then cool to 90-100°F (32-38°C). Use an ice bath if it gets too warm.
5. Heat the Oils: In a separate container, melt the coconut oil and shea butter over low heat. Add the olive oil and castor oil, heating to 100-110°F (38-43°C).
6. Combine: When the lye-milk and oils are within 10°F of each other, slowly pour the lye-milk into the oils. Stir briefly with a spoon.
7. Blend to Trace: Use a stick blender to mix until you reach a light “trace”—a pudding-like consistency where drizzled batter holds its shape briefly (1-3 minutes). Goat milk soap can thicken quickly, so don’t over-blend.
8. Add Fragrance: Stir in essential oils if using (see scent ideas below).
9. Pour into Mold: Pour the batter into your mold, tapping gently to remove air bubbles.
10. Cure in Mold: Cover lightly with a lid or cardboard, wrap in a towel, and let it sit for 24-48 hours. Check periodically—goat milk soap can overheat, causing cracks. If it feels hot, uncover slightly.
11. Unmold and Cut: Once firm, remove from the mold and cut into bars if using a loaf mold.
12. Final Curing: Place bars in a well-ventilated area to cure for 4-6 weeks. This hardens the soap, balances its pH, and makes it gentler on skin.
Yield: About 8-10 bars, depending on your mold.
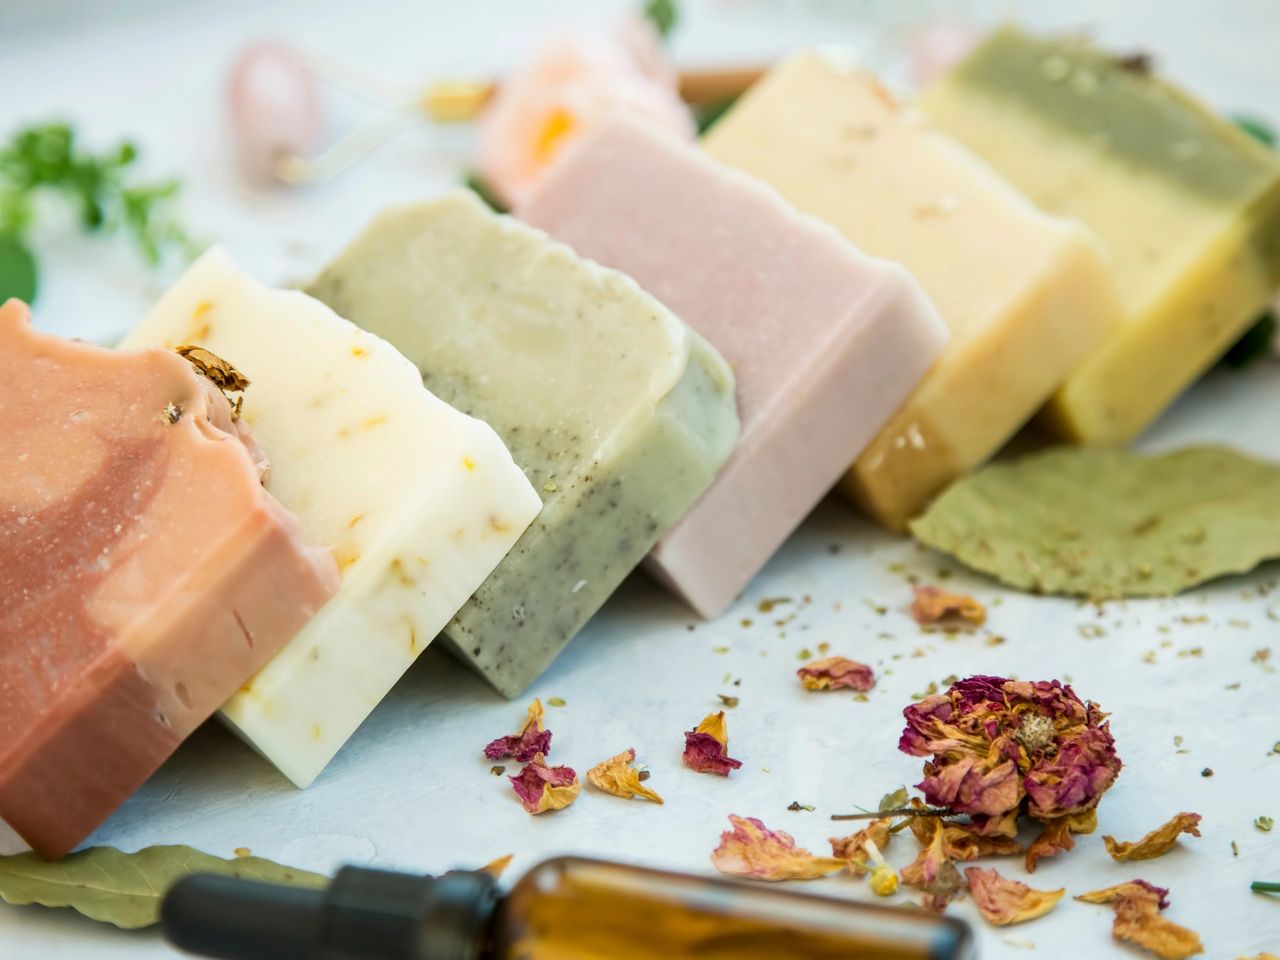
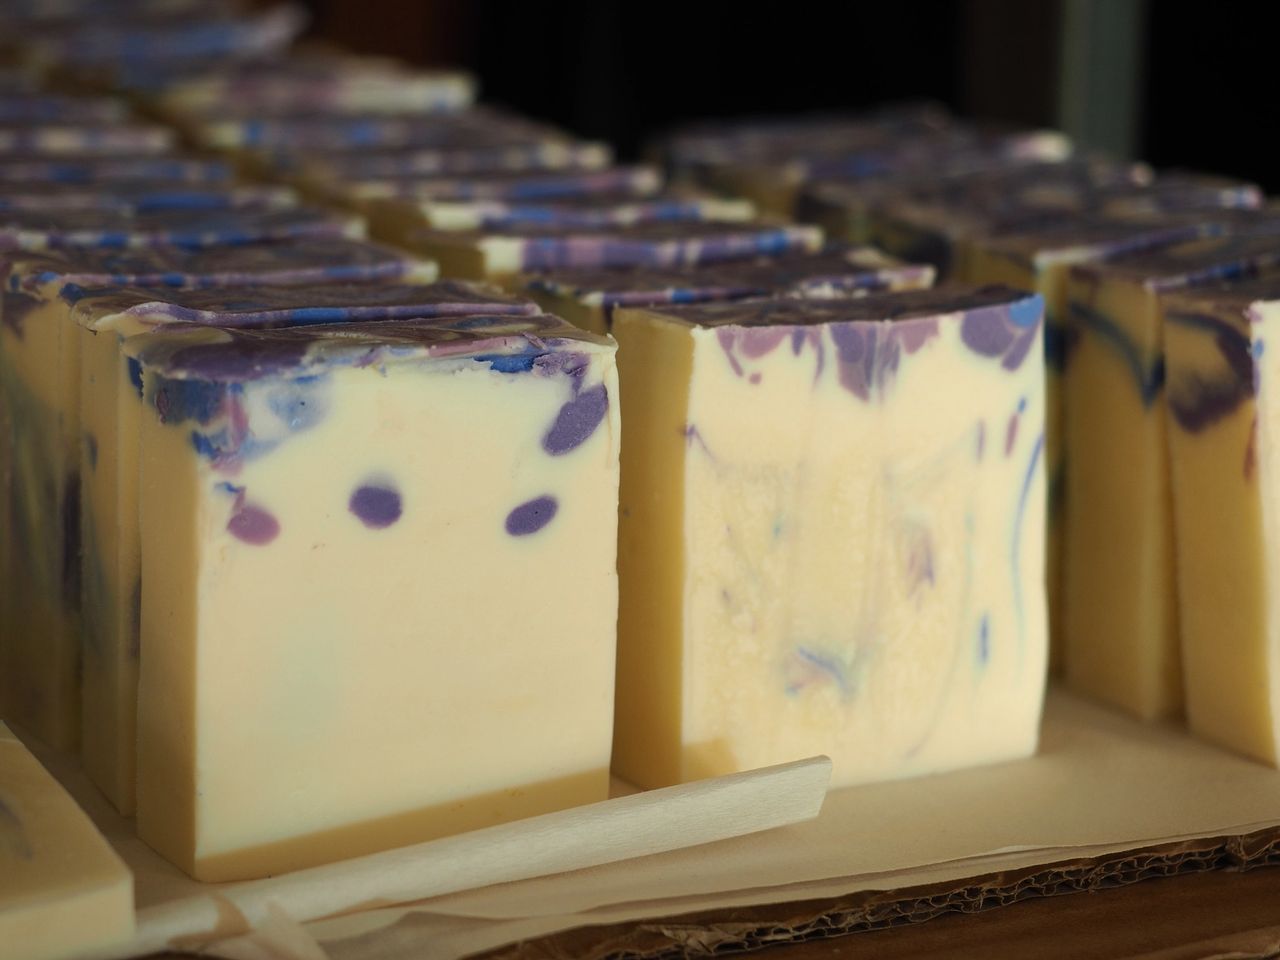
Creative Customizations: Make Your Soap a Work of Art
Now for the fun part—turning your soap into a masterpiece! Here are ideas for colors, scents, sculpted tops, and add-ins to personalize your bars.
Colors
Use natural colorants for vibrant, skin-safe hues. Add at light trace unless specified:
• Green: Spirulina powder (1 tsp per pound of oils) or French green clay (1-2 tsp, mixed with water).
• Yellow/Orange: Turmeric powder (1/2 tsp) or annatto seed-infused oil (soak seeds in oil for a day, strain, use a portion).
• Pink/Red: Beetroot powder (1 tsp) or rose clay (1-2 tsp, mixed with water).
• Brown: Cocoa powder (1 tsp) or replace some goat milk with strong brewed coffee.
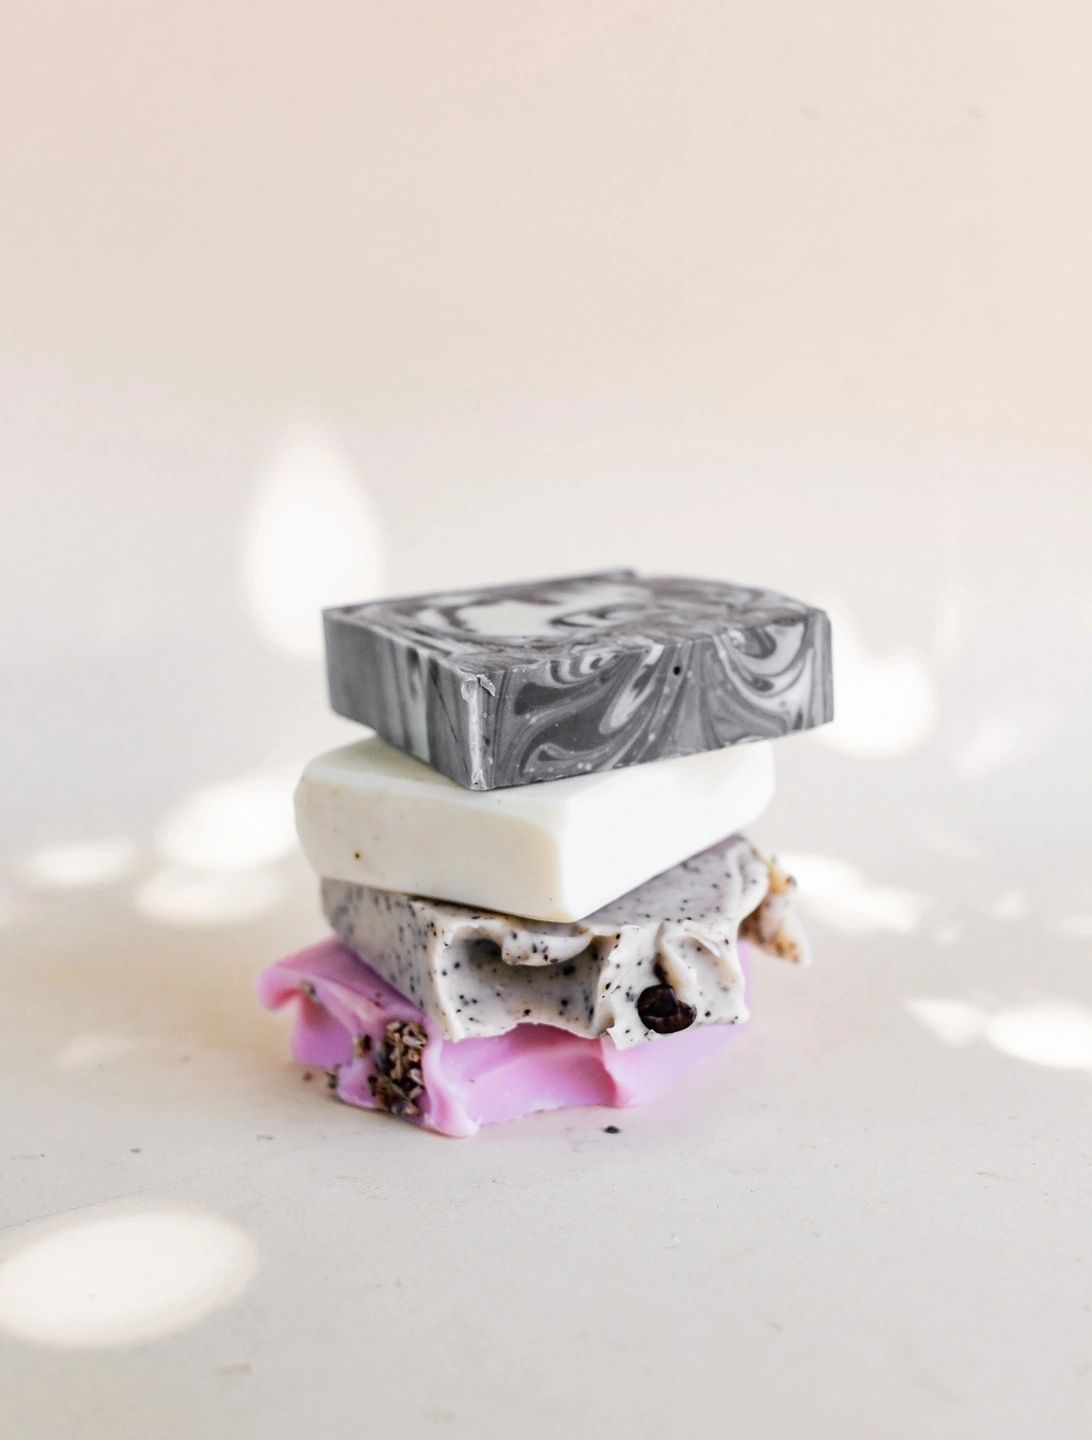
• Swirls: Split batter into two or more portions, color each differently, then pour alternately into the mold. Swirl with a skewer or hanger tool for a marbled effect.
Scents
Essential oils add fragrance and mood-boosting benefits. Use 1-2 oz total per batch:
• Floral: Lavender (calming), rose geranium (uplifting), or ylang-ylang (sweet and exotic).
• Herbal: Rosemary (earthy), peppermint (cooling—use sparingly), or eucalyptus (refreshing).
• Citrus: Sweet orange (bright), lemongrass (zesty), or grapefruit (cheery—pair with cedarwood to anchor).
• Spicy: Cinnamon leaf (warm, use 0.5 oz max) or clove (cozy, blend with orange).
• Favorite Blend: Try lavender (1 oz) + peppermint (0.5 oz) for a soothing yet invigorating vibe.
Sculpted Tops
Before the soap hardens, sculpt the surface for a stunning finish:
• Peaks: At medium trace, spoon or pipe batter onto the top, then pull into soft peaks with a spoon.
• Swirls: Drizzle a colored batter (split off some, thin with a bit of oil) and swirl with a chopstick.
• Textured Sprinkle: Lightly press dried lavender buds, chamomile flowers, or oats onto the surface right after pouring.
• Waves: Drag a spoon or spatula across the top in curved motions for a rippled look.
• Piping: At heavy trace (frosting-like consistency), scoop batter into a piping bag and pipe rosettes or zigzags.
Add-Ins
Mix these in at light trace for extra flair:
• Exfoliants: Ground oats (1-2 tbsp), coffee grounds (1 tbsp), or poppy seeds (1 tsp).
• Moisturizers: Honey (1 tsp per pound, dissolved in water) or aloe vera gel (1-2 tbsp).
• Visuals: Dried calendula petals or citrus zest (sprinkle lightly on top).
Our Favorite Combo: Lavender-Spirulina Swirl Soap
For a show-stopping bar, try this:
• Recipe: Use the shea butter recipe above.
• Color: Split batter in half. Add spirulina (1 tsp) to one portion for a vibrant green, leave the other natural white, and swirl in the mold.
• Scent: Blend lavender (1 oz) and peppermint (0.5 oz) essential oils for a refreshing, calming aroma.
• Top: Pipe green batter into peaks and sprinkle with dried lavender buds for a rustic, elegant finish.
The result? A creamy, bubbly bar with a gorgeous green-white swirl, soothing scent, and textured top that’s almost too pretty to use (but you’ll want to!).
Tips for Success
• Measure Carefully: Too much lye makes soap harsh; too little leaves it oily. A digital scale is your best friend.
• Prevent Overheating: Freezing the goat milk and monitoring the soap during its initial cure prevents scorching or cracking.
• Experiment Small: Test colors or scents in a small batch first to nail your perfect combo.
• Cure Properly: Those 4-6 weeks of curing are worth it for a harder, milder bar.
Ready to Get Soapy?
Making goat milk and shea butter soap is a rewarding blend of science and art. With this recipe and customization ideas, you’re ready to craft bars that pamper your skin and spark joy. Whether you keep it simple or go all out with swirls and piped tops, your handmade soap will be a hit—perfect for gifting or treating yourself.
Have you tried soap-making before, or is this your first dive? Share your creations or ask for more tips in the comments below! Happy soaping!
Disclaimer: Always handle lye with care and follow safety guidelines. If you’re new to soap-making, consider watching a tutorial or starting with a melt-and-pour base for a no-lye option. For more inspiration, check out online soap-making communities or experiment with your own unique twists!