
May 22, 2025|Homesteading, Livestock, Llamas, Tips
Shearing llamas and alpacas is a critical task that keeps these South American camelids comfortable, healthy, and ready to provide their luxurious fleece for fiber production. Whether you’re a new alpaca or llama owner, a farmer, or a fiber enthusiast, learning to shear properly ensures animal welfare and high-quality fleece. This blog offers a detailed, beginner-friendly guide to shearing llamas and alpacas, with step-by-step instructions, safety tips, and specific considerations for each animal’s unique fleece. Let’s dive into the art and science of shearing!
Why Shear Llamas and Alpacas?
Shearing benefits both the animals and their owners:
• Comfort: Removes heavy fleece to prevent overheating, especially in warm seasons.
• Health: Reduces matting, parasite buildup, and allows skin inspections for injuries or infections.
• Fiber Production: Harvests fleece for yarn, textiles, or sale, supporting sustainable crafting.
• Aesthetics: Prepares animals for shows or enhances their appearance with styled cuts.
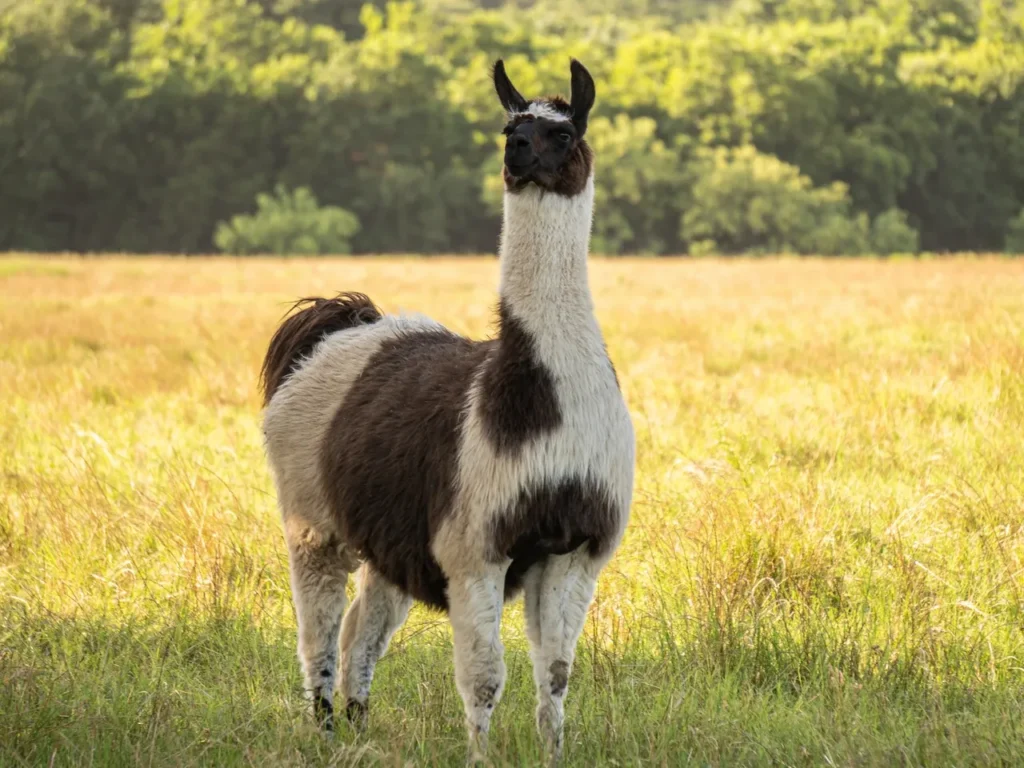
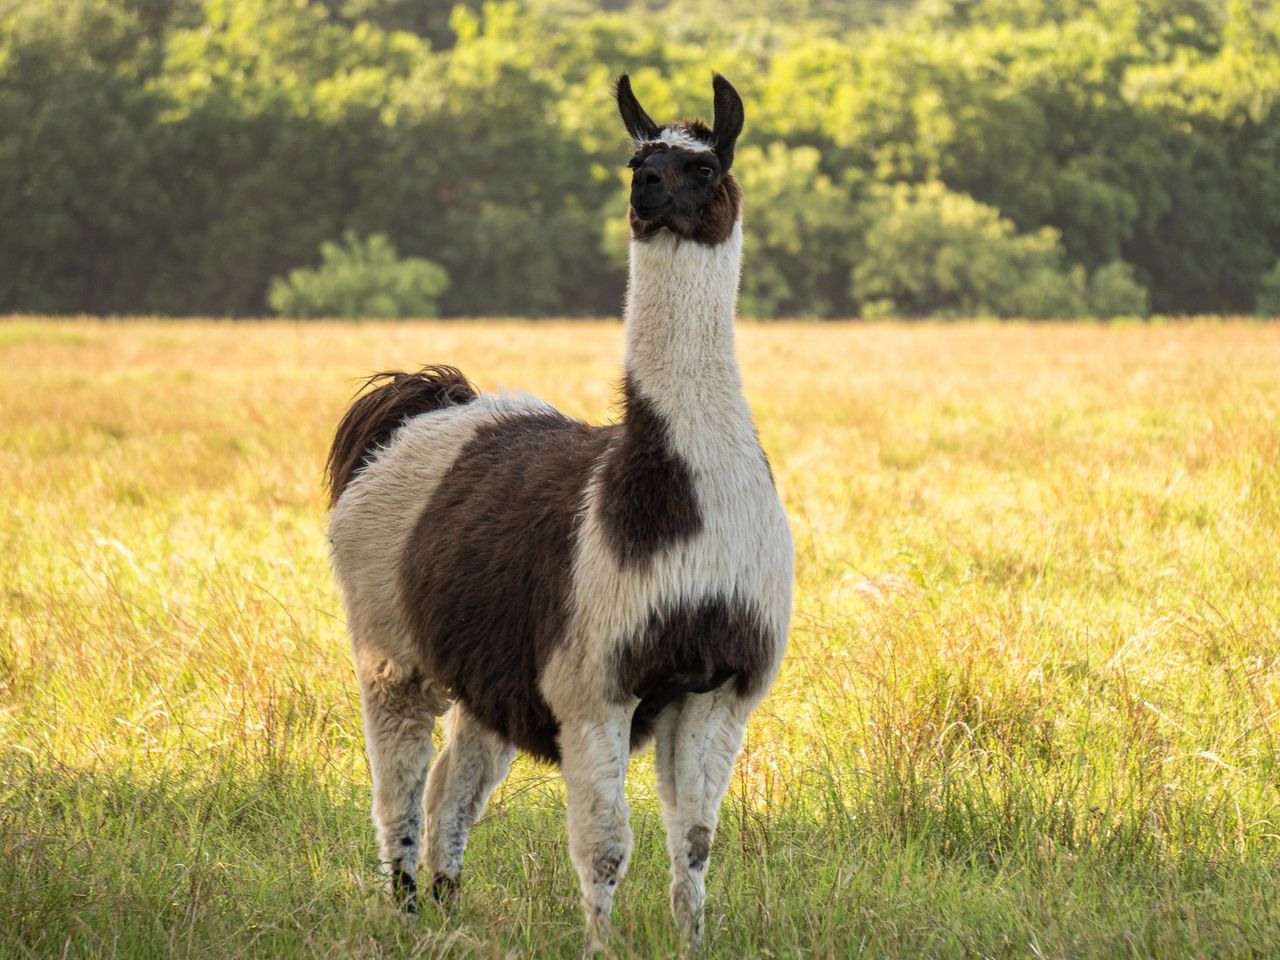
Alpaca Fleece: Alpacas (Huacaya and Suri) are bred for their fine, soft fleece (20–30 microns), ideal for premium textiles. Huacaya fleece is dense and crimped, while Suri fleece is silky and lock-like. Llama Fleece: Llamas (Ccara and Tampuli) have coarser fleece (25–35 microns or more), often double-coated with guard hairs. Tampuli fleece is softer for textiles, while Ccara fleece is more rugged.
While shearing is similar for both animals, alpaca fleece requires gentler handling due to its fineness, and llama fleece may need extra attention to manage coarser guard hairs. Here’s how to shear safely and effectively.
Step-by-Step Guide to Shearing Llamas and Alpacas
Shearing requires preparation, proper tools, and a focus on animal welfare. While professional shearers are recommended for beginners, experienced owners can learn to shear with practice. Follow these steps for a successful shearing session.
Step 1: Prepare the Shearing Area
• Location: Set up in a clean, dry, flat area (e.g., a barn or covered pen) with good lighting and ventilation. Lay down a tarp or rubber mat to keep the fleece clean and provide traction.
• Restraint: Use a shearing stand, chute, or ropes to secure the animal safely. Alpacas and llamas are typically sheared lying down, stretched out with legs tied to prevent kicking. An assistant can help hold or calm the animal.
• Cleanliness: Sweep the area to remove dirt, hay, or debris that could contaminate the fleece. Keep separate bins for different fleece grades (e.g., blanket, neck, seconds).
• Tools:
• Electric shearing clippers with sharp blades (e.g., Lister Star or Oster Clipmaster). Use fine-tooth blades for alpacas, medium-tooth for llamas.
• Extra blades, as alpaca fleece can dull blades quickly, and llama guard hairs may require sturdier blades.
• Blade lubricant and cooling spray to prevent overheating.
• Brush for cleaning clippers between animals.
• Breathable bags (e.g., cotton or mesh) or bins for collecting fleece, labeled by animal and cut type.
• First-aid kit with antiseptic (e.g., Betadine) for minor nicks.
• Towels or blankets for post-shear warmth in cool weather.
Pro Tip: Test clippers before starting to ensure they’re sharp and running smoothly. Dull blades can tug fleece, causing discomfort or uneven cuts.
Step 2: Prepare the Animal
• Fasting: Withhold food (but not water) for 12–24 hours before shearing to reduce stomach contents, minimizing discomfort when the animal is lying down.
• Cleaning: Ensure the animal is dry and relatively clean. Brush out loose dirt, hay, or debris from the fleece, especially for Suri alpacas (to preserve locks) or Tampuli llamas (to reduce matting).
• Calming: Handle the animal gently to reduce stress. Use a halter to lead them to the shearing area, and speak softly or play calming music to keep them relaxed.
• Health Check: Inspect the animal for skin issues, lumps, or injuries before shearing. Consult a veterinarian if you notice anything unusual, as shearing can exacerbate existing conditions.
• Special Considerations:
• Alpacas: Smaller and often more skittish, alpacas require gentle restraint. Suri alpacas need extra care to avoid disrupting their lock structure.
• Llamas: Larger and stronger, llamas need secure restraint to prevent kicking or sudden movements. Ccara llamas may have shorter fleece, requiring less precision.
Step 3: Shear the Animal
• Positioning: Lay the animal on its side, stretched out with legs gently tied or held by an assistant. This stretched position mimics their natural resting posture, reducing resistance. Flip the animal to the other side halfway through to shear both sides evenly.
• Shearing Technique:
1. Start with the Blanket: Begin at the midline of the back (spine) and shear in long, smooth strokes toward the belly, following the fleece’s natural growth direction. Keep the clipper flat against the skin to avoid nicks or uneven cuts. Collect the “blanket” (prime fleece from the back, sides, and upper legs) in one piece for fiber production.
2. Neck and Upper Legs: Shear the neck and upper legs carefully, using shorter strokes for precision. Leave the head and lower legs unshorn unless trimming for hygiene or a specific cut (e.g., show cut). For Suri alpacas, shear parallel to the locks to preserve their silky, dreadlock-like structure.
3. Tail and Sensitive Areas: Trim the tail lightly with small, precise strokes, avoiding the sensitive skin around the base. Shear the belly and groin cautiously, as these areas are prone to nicks.
4. Styled Cuts (Optional): For show cuts, use a comb attachment to leave 1–2 inches of fleece, shaping it evenly for a polished look. For lion cuts, leave a mane-like strip on the neck, a tail tuft, or leg “boots” for a decorative effect.
• Alpaca Tips:
• Use fine-tooth blades for alpaca fleece, which is finer and denser. Shear slowly to avoid second cuts (short, uneven clips) that reduce fiber quality.
• For Huacaya alpacas, focus on clean, even strokes to maintain the crimped fleece’s uniformity.
• For Suri alpacas, shear gently along the lock direction to preserve their glossy, flowing fibers. Avoid cross-cutting, which can ruin the lock structure.
• Llama Tips:
• Use medium-tooth blades for llama fleece, which is coarser and often double-coated. Clean clippers frequently, as guard hairs can clog blades.
• For Tampuli llamas, shear carefully to collect soft undercoat fleece for textiles. For Ccara llamas, a quicker barrel cut (torso only) may suffice for comfort.
• Double-coated fleece may require post-shearing dehairing to remove coarse guard hairs.
• Safety:
• Check the animal’s skin frequently for nicks, redness, or irritation. Apply antiseptic to minor cuts immediately.
• Stop if clippers overheat (feel the blade with your hand) and apply cooling spray or switch to a fresh blade.
• Keep an assistant nearby to hold the animal, monitor its behavior, or assist with fleece collection.
• Watch for signs of stress (e.g., spitting, kushing, or heavy breathing) and pause to reassure the animal if needed.
Pro Tip: Shear in a pattern (e.g., back to belly, neck to tail) to ensure even coverage and avoid missing spots. Practice on a less valuable fleece (e.g., Ccara llama leg fiber) to build confidence.
Step 4: Collect and Store the Fleece
• Sorting: Collect the blanket fleece (prime fiber from the back, sides, and upper legs) in one bag, separating it from neck, leg, or coarser fibers (second-grade fleece). For Suri alpacas, keep locks aligned in the bag to maintain their structure.
• Labeling: Label bags with the animal’s name, date, and fleece type (e.g., “Huacaya blanket,” “Tampuli prime”) for processing or sale.
• Storage: Store fleece in breathable bags (e.g., cotton or mesh) in a dry, pest-free area to prevent moth damage or mold. Avoid plastic bags, which can trap moisture.
• Alpaca Tips: Sort Huacaya fleece by fineness (e.g., Baby Alpaca vs. standard) and Suri fleece by lock quality for optimal textile use.
• Llama Tips: Separate Tampuli fleece for spinning and Ccara fleece for coarser projects (e.g., rugs). Note areas with heavy guard hairs for later dehairing.
Step 5: Post-Shearing Care
• Clean-Up: Release the animal gently and check for minor nicks or skin irritation. Apply antiseptic (e.g., Betadine) to any small cuts and monitor for infection over the next few days.
• Warmth: Provide blankets, a sheltered pen, or a barn for freshly sheared animals, especially in cool or windy weather, as they may be sensitive to cold without their fleece.
• Hydration and Rest: Offer water and a calm environment to help the animal recover from the stress of shearing. Avoid sudden movements or loud noises.
• Monitoring: Watch for signs of distress, hypothermia, or skin issues in the days following shearing. Consult a veterinarian if the animal seems lethargic or unwell.
• Tool Maintenance: Clean and disinfect clippers and blades after each session to prevent rust or bacterial spread. Sharpen blades as needed and store in a dry case.
Tips for Successful Shearing
• Start with a Professional: If you’re new to shearing, hire an experienced shearer for your first few sessions. Observe their techniques and ask for tips specific to your herd.
• Practice on Coarser Fleece: Begin with Ccara llama fleece or lower-grade alpaca fiber to practice, as mistakes are less costly than ruining prime Huacaya or Suri fleece.
• Minimize Stress: Keep the environment quiet, shear in small groups, and handle animals gently. A stressed animal (e.g., spitting or kushing) is harder to shear safely.
• Invest in Quality Clippers: High-quality electric clippers (e.g., Premier 4000s or Heiniger Xtra) ensure clean cuts and reduce strain. Budget $200–$500 for a reliable set.
• Learn Animal Behavior: Understand llama and alpaca body language. Spitting, humming, or lying down (kushing) may indicate stress, so pause and reassure the animal.
• Take a Course: Attend a shearing workshop through a local alpaca/llama association or fiber guild. Hands-on training builds confidence and skill.
• Work in Teams: Have at least one assistant to hold the animal, collect fleece, or manage tools, especially when shearing larger llamas.
Challenges and Solutions
• Alpaca Challenges:
• Fine Fleece: Alpaca fleece (especially Huacaya) can clog clippers, so clean blades frequently and use fine-tooth combs.
• Suri Locks: Shear Suri alpacas carefully to preserve lock structure, avoiding cross-cutting or second cuts.
• Skittishness: Smaller alpacas may squirm, so use secure, gentle restraint and work quickly.
• Llama Challenges:
• Coarse Fleece: Llama guard hairs dull blades faster, so keep spares handy and use medium-tooth blades.
• Strength: Llamas are larger and stronger, requiring sturdy restraint systems to prevent kicking or bolting.
• Double-Coated Fleece: Tampuli or Ccara fleece may need post-shearing dehairing, so collect guard hairs separately if possible.
• General Challenges:
• Nicks: Shear slowly and keep clippers flat to avoid cuts. Have antiseptic ready for quick treatment.
• Clipper Overheating: Check blade temperature regularly and use cooling spray or alternate blades.
• Uneven Cuts: Practice consistent strokes and check your work frequently to avoid patchy results.
Why Shearing Matters
Shearing llamas and alpacas is a blend of care, skill, and craftsmanship. A well-sheared animal stays cool, healthy, and comfortable, while their fleece becomes the foundation for beautiful, sustainable textiles. Whether you’re harvesting silky Suri alpaca fleece for a delicate shawl or shearing a Ccara llama for summer comfort, the process connects you to ancient Andean traditions and the joy of working with natural fibers.
Shearing may seem daunting at first, but with preparation, practice, and patience, it becomes a rewarding part of camelid care. Have you tried shearing your llamas or alpacas, or are you gearing up for your first session? Share your tips, questions, or experiences in the comments below, and let’s keep the fleece flying!